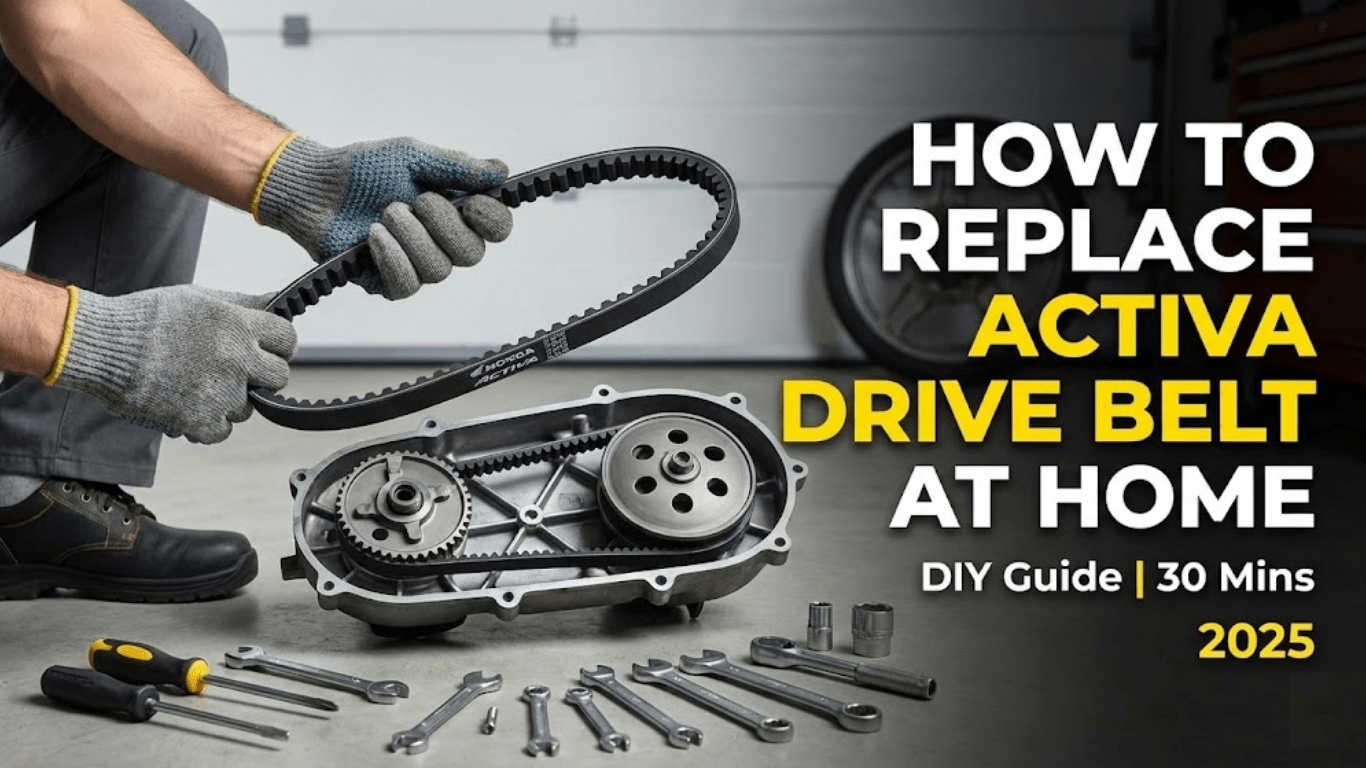
How to replace the drive belt on a Honda Activa at home in 30 mins – full DIY video steps, tools, genuine part number & save ₹1500 vs service centre!
Despite the fact that replacing the drive belt, also known as a V-belt, on your Honda Activa 125, Activa 6G, Activa 5G, or any of the older 110cc models, is one of the simplest and most satisfying DIY jobs you can do at home. A worn-out belt could mean poor acceleration, strange noises, or even snap suddenly-leaving you stranded. Actually, it can be done in 25-35 minutes with the help of some basic tools and save you ₹800-1500 that service centres charge. The best part is that it’s a universal replacement information for all models of Honda Activa BS6 and BS4 including Activa 3G, 4G, 5G, 6G, 125 and 125 BS6. Endorsed in this revised publication of 2025.
Check fast for the first news of Bikes & Cars launch on this WhatsApp channel
When Should You Replace the Activa Drive Belt?
All of the esoterica outlined here is for entertainment and education. Please get in touch with us to get any information regarding the servicing of your scooter.
Honda advises replacement every 24,000 km or 4 years, whichever comes first. Go for an immediate replacement in case you notice:
- Squealing noise upon acceleration
- Sluggishness in pickup no matter how much you clean the carburetor/air filter
- Visible cracks/fraying/missing teeth on the old belt
- Mileage drop by 5–10 km/l
Genuine Honda belt part numbers:
- Activa 125(all years): 23100-K0L-A11
- Activa 110/6G/5G: 23100-KWW-A41
- Price: ₹380–₹520 (2025 MRP)
Tools Required (All Available on Amazon under ₹1500)
- T30 Torx key (most important)
- 8mm, 10mm, 12mm, 14mm spanners
- 17mm socket + ratchet (optional)
- New genuine Honda V-belt
- Pair of gloves & clean cloth
Step-by-Step: How to Replace Honda Activa Drive Belt at Home
Time required: 25–35 minutes
Difficulty level: Beginner-friendly
Step 1 – Safety First
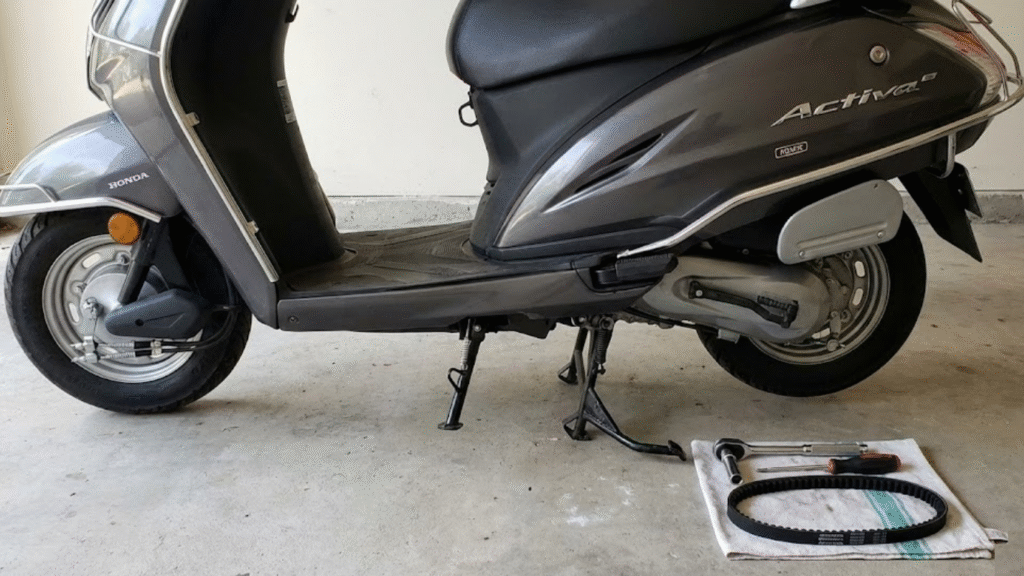
Park the scooter on centre stand on flat ground. Let the engine cool down completely. Switch off ignition and remove the key.
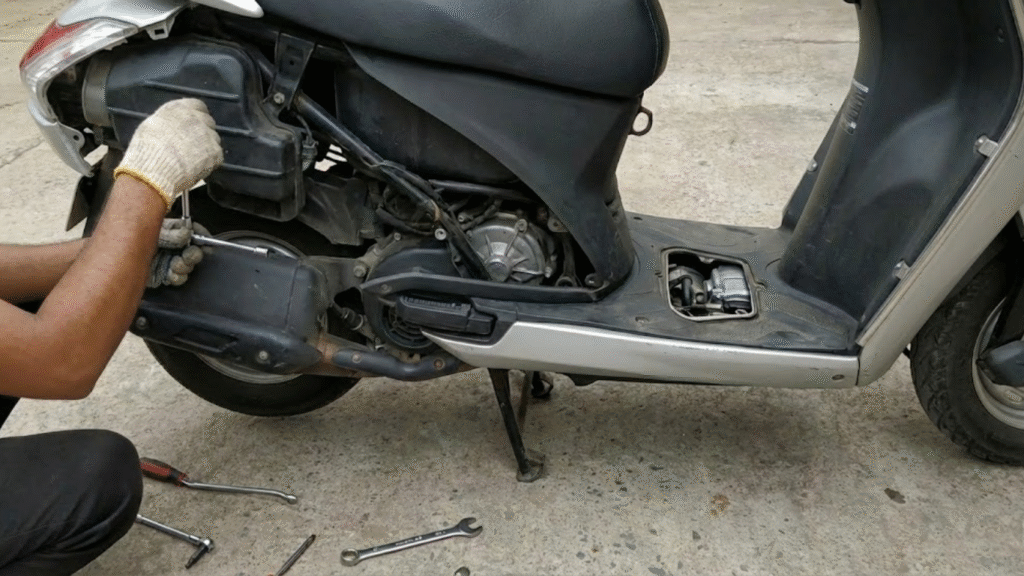
Step 2 – Remove Left-Side Body Panels
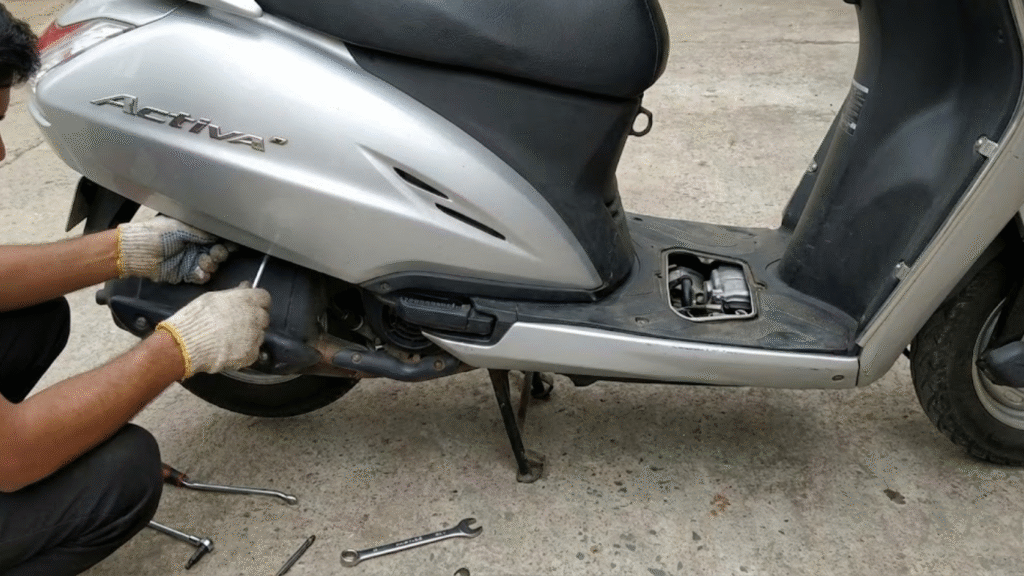
- Remove the 4 screws under the floorboard (2 front, 2 rear) using 8mm spanner
- Remove the 3 screws on the left side cover (near footrest)
- Gently pull the left body panel outward and backward – it unclips easily
- Remove the small rectangular inspection cover (held by 2 screws) to see the belt
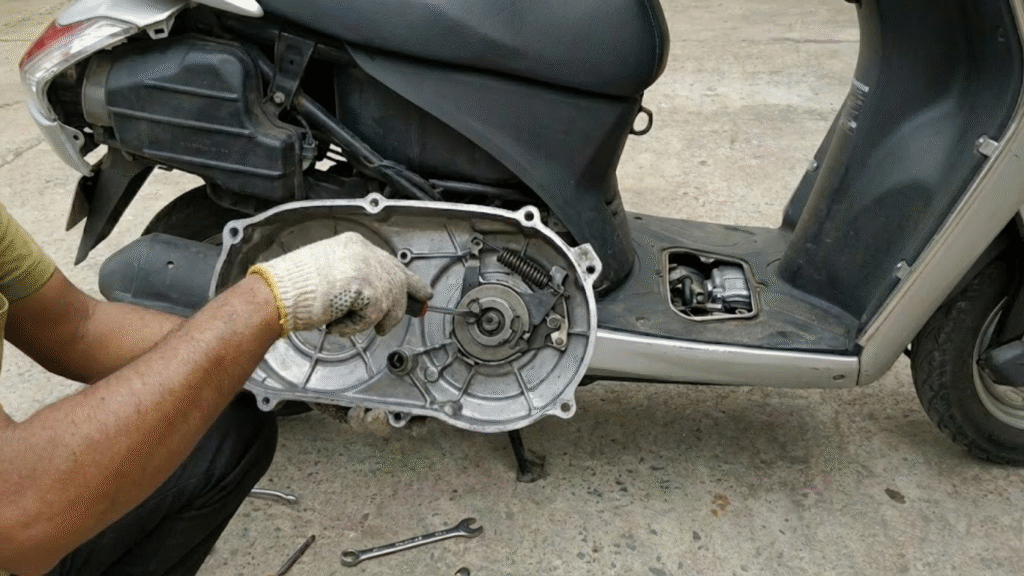
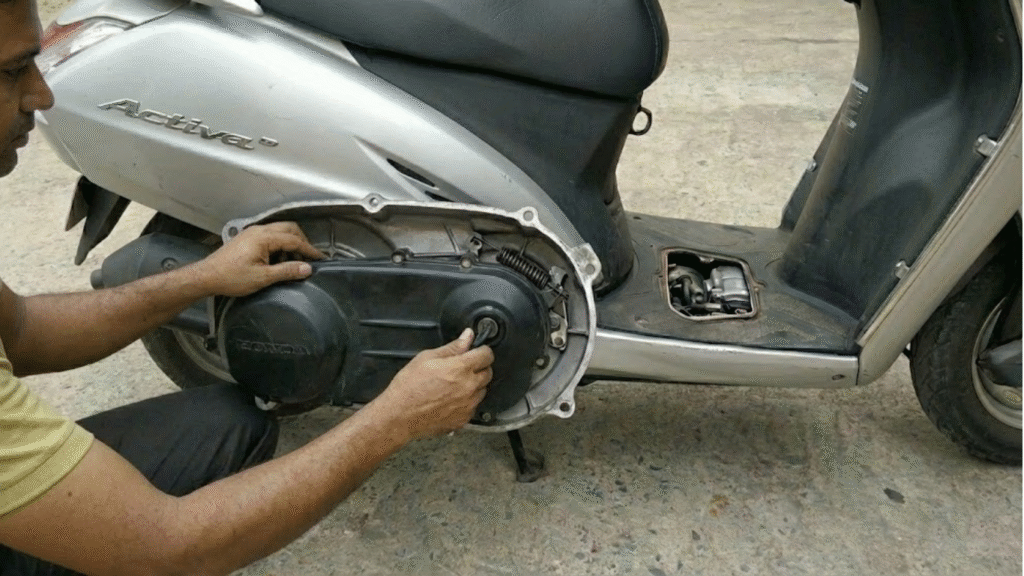
Step 3 – Open the Crankcase Cover
- You will see 10–12 bolts (8mm & 10mm) around the black crankcase cover
- Loosen all bolts in criss-cross pattern
- Remove the cover carefully – the kick-start ratchet is attached, don’t force it
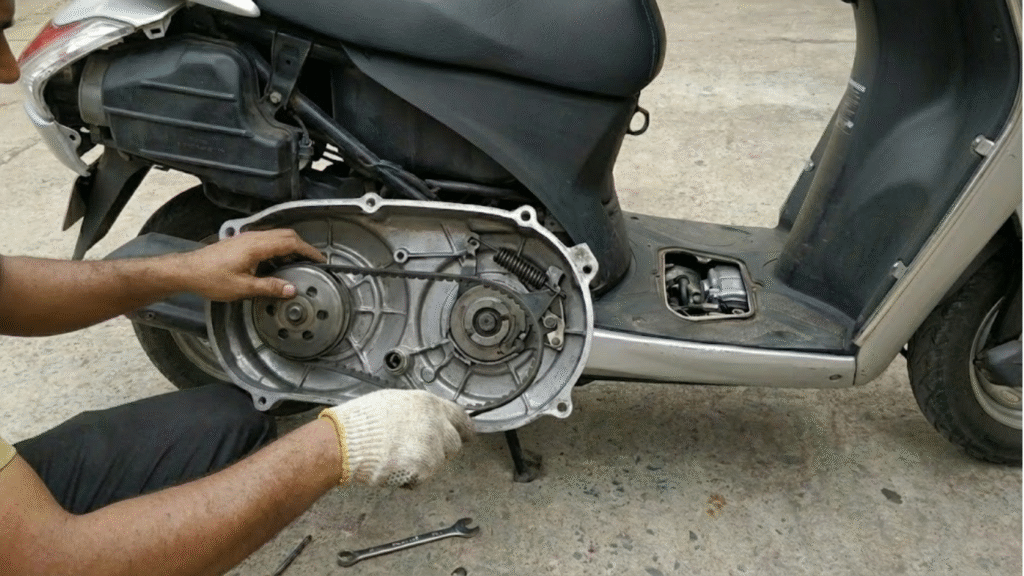
Step 4 – Remove the Kick-Start Ratchet (Important!)
- Inside the cover, you’ll see a spring-loaded kick ratchet held by a circlip
- Use a flat screwdriver to remove the circlip, then slide the ratchet assembly out
- Keep it safe – many people break this part during DIY
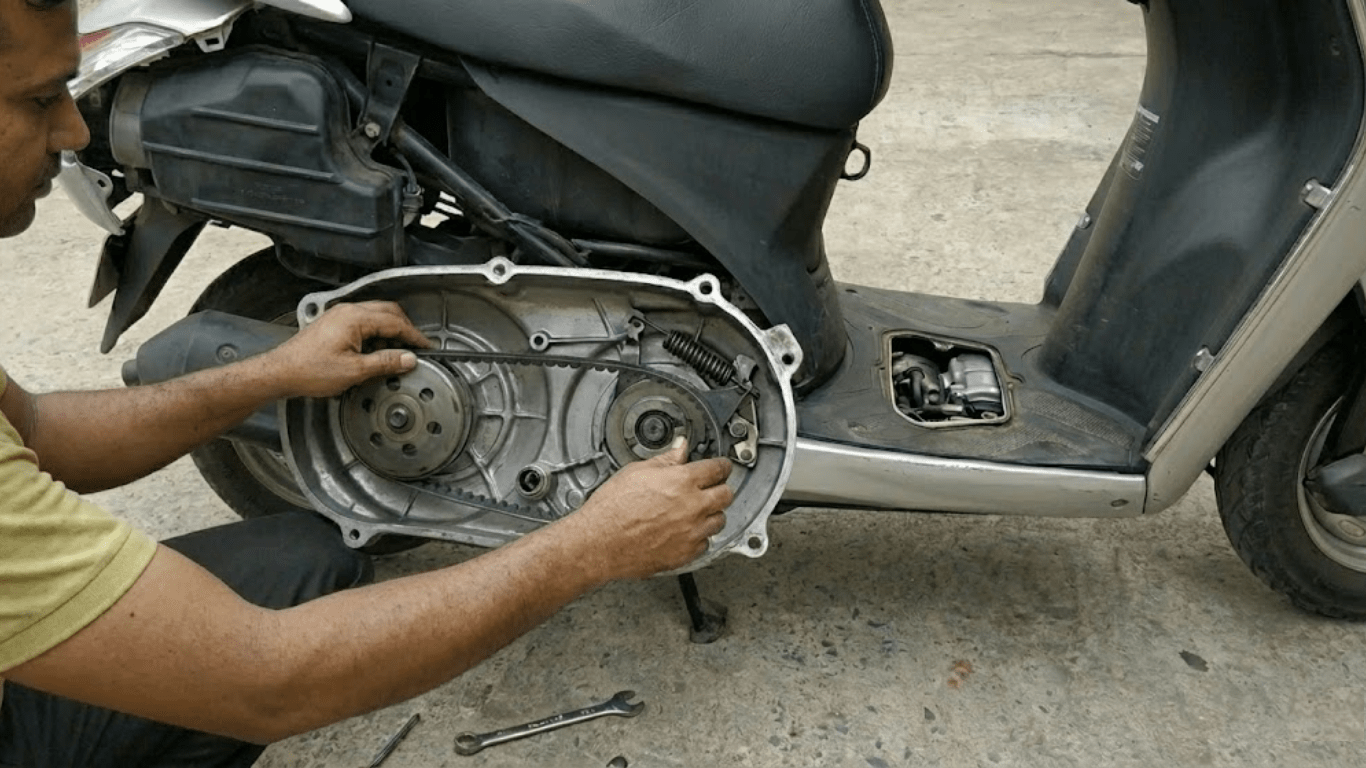
Step 5 – Remove Old Belt & Clean Everything
- Rotate the rear wheel in forward direction – the clutch pulley will open and the old belt will become loose
- Slip the old belt out completely
- Clean the pulleys with a clean cloth (never use petrol/thinner – it damages rubber)
Step 6 – Install New Genuine Honda Belt
- Loop the new belt first on the front (crankshaft) pulley
- Rotate the rear wheel forward while pushing the belt into the rear (clutch) pulley
- Keep rotating until the belt is fully seated – you’ll hear a “click” feeling
Step 7 – Reassemble Everything (Reverse Order)
- Put back kick ratchet + circlip
- Place the crankcase cover and tighten all bolts criss-cross (torque 10–12 Nm)
- Clip back the left body panel
- Start the scooter – it should feel noticeably smoother and punchier
Pro Tip: Apply a tiny amount of talcum powder on the new belt to prevent squeaking in rainy season.Common Mistakes to Avoid× Never use local/duplicate belts – they snap within 5000 km
- Don’t overtighten crankcase bolts – they can crack the casing
- Always replace the belt in pairs with new clutch rollers if mileage >40,000 km (optional but recommended)
Cost Comparison: DIY vs Service Centre (2025)
| Item | DIY Cost | Service Centre |
|---|---|---|
| Genuine Honda Belt | ₹420–520 | ₹650–900 |
| Labour charges | ₹0 | ₹800–1200 |
| Total | ₹520 | ₹1800+ |
| Time | 30 minutes | 2–4 hours wait |
Final Words
Replacing the drive belt on your Honda Activa at home is 100% safe, super easy, and gives you the satisfaction of keeping your scooter in top condition. Thousands of Activa owners do this every weekend and save lakhs over the scooter’s lifetime. Do it once – you’ll never pay a mechanic again for this job!
Frequently Ask Questions?
How often should I replace the drive belt in Honda Activa?
Honda recommends every 24,000 km or 4 years. Replace earlier if you hear squealing, feel poor acceleration, or see cracks/fraying on the old belt.
Can I replace the Activa drive belt myself at home?
Yes, absolutely! It’s a beginner-friendly 30-minute job using just basic spanners and a T30 Torx key. No special tools or workshop needed.
What is the price of a genuine Honda Activa drive belt in 2025?
Genuine belt costs ₹420–₹520 (Activa 125: 23100-K0L-A11, Activa 6G/110: 23100-KWW-A41). Always buy from authorised dealers to avoid duplicates.
Will a duplicate/local belt work on my Activa?
Never use local belts – they snap within 5,000–8,000 km and can damage the clutch. Genuine Honda belts easily last 24,000+ km.
Do I need to replace clutch rollers when changing the belt?
Not mandatory below 40,000 km, but highly recommended above 40,000 km for smoother performance and longer clutch life (cost ₹350–450 extra).
Also Read:
New Brezza On Road Price: Full Guide to Maruti’s Top-Selling Compact SUV in 2025!
Tata Sierra 2025 Launched in India: The Coolest SUV is Finally Here!